Today we are setting up our Roar accounts and being shown how to make our layers into assets for importing to After Effects.
Some things I need to remember are:
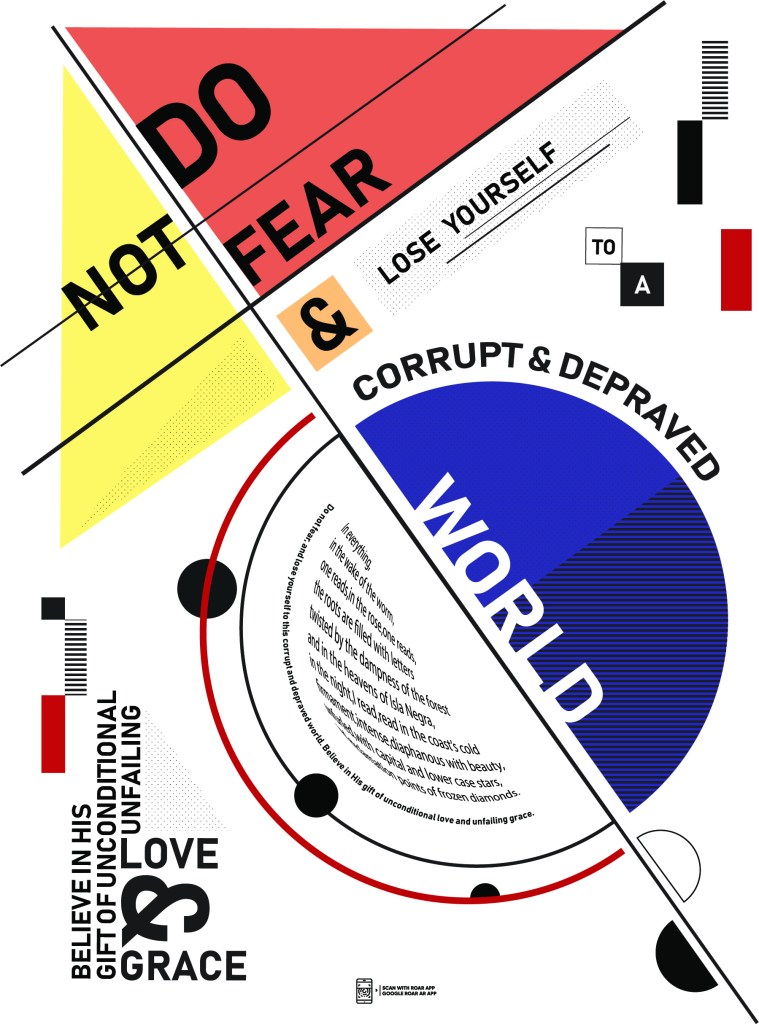
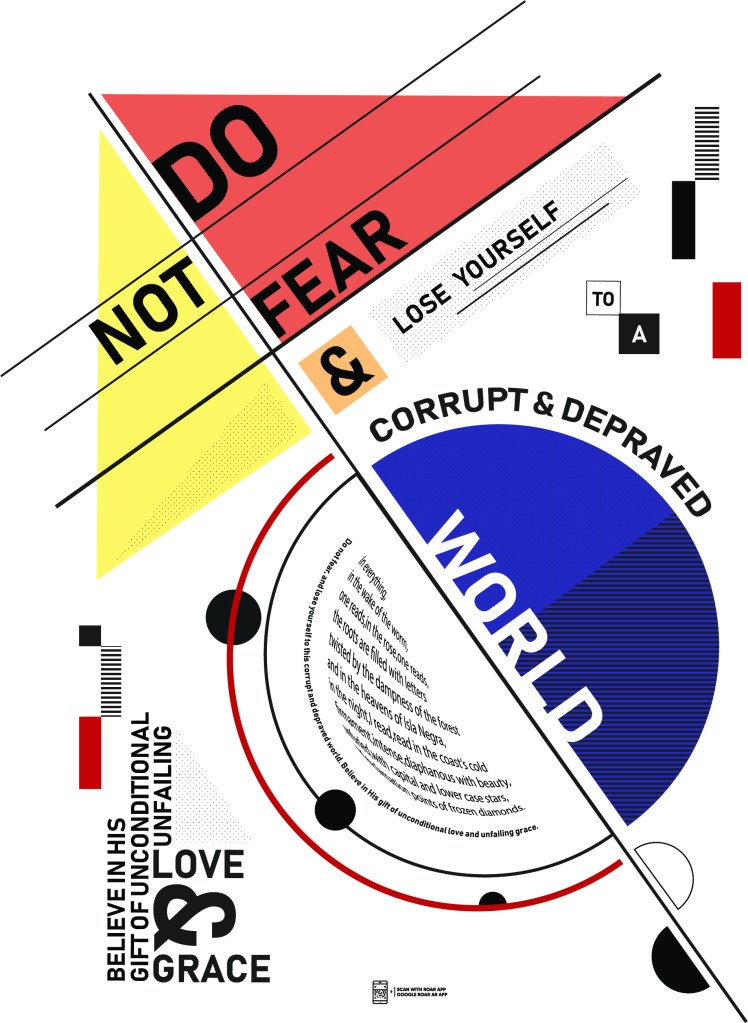
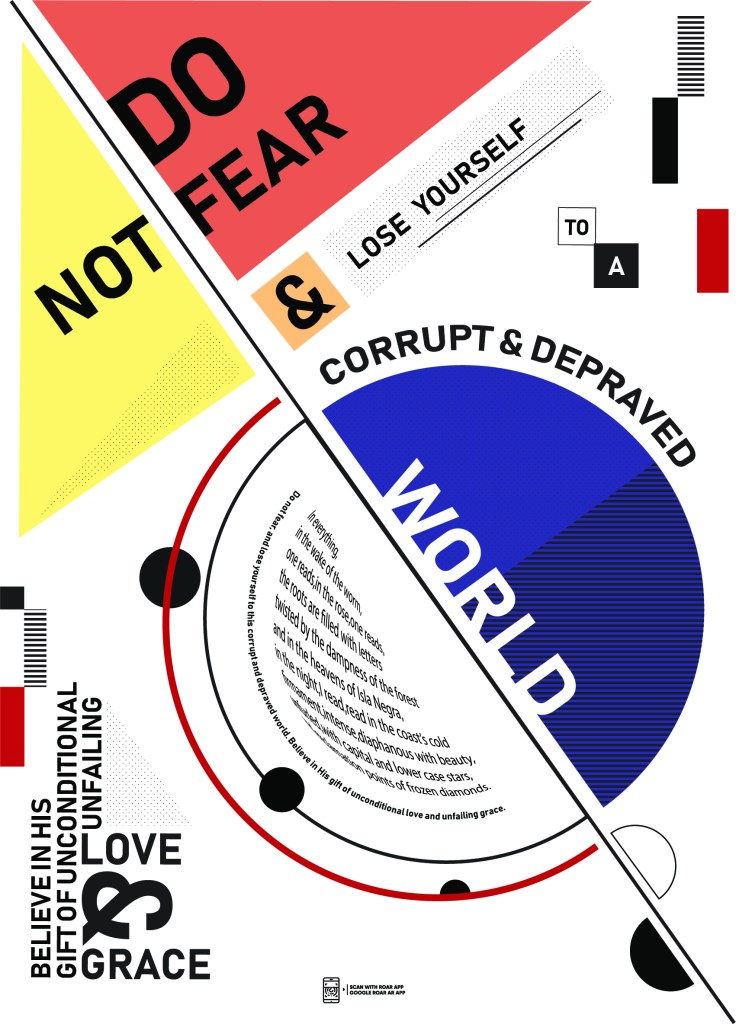
- Dividing my shapes up in layers according to how I wish to have it animated
- Roar only allows 4 layers
- Remember to make the backgrounds transparent when exporting.
- export as mp4s
- From Ai to Ae: double click where u import files, Import, file, select ai doc, import as composition retain layer size, it keeps all the layers.
- Release groups to sequence to make 4 layers
- (select main layer, options)
- Ae: create, create shape from vector
- keyframe shortcut: U
- Choose font with bold and light, make 2 text layers
- create shape from text layer
- double tap U on shape layer, select all paths by holding in cmd, click top keyframe thingy, makes keyframes for all of them. Then, click U once on shape outline layer and click it again. This will make only the path keyframes appear dropped down.
- snapping tool at bar in top
- scrubber: cmd arrows is 1 frame at a time
- cmd shift is 10 frames at a time
We went through the basics of animating shapes in After Effects again, and were shown hoe to make gradients, change path shapes etc.
Then we made our names into shapes and animated the letters to go from bold to light and vice versa.